

How to Update CentOS 7 or 8 Kernel
A quick introduction, after all, what is the Kernel?
The Kernel is the fundamental layer of the operating system. It works at the most basic level and is responsible for managing resources, ram, CPU etc…
Kernel starts when server or PC starts and recognizes components, GPU, memory, peripherals. In other words the Kernel is the heart of Linux.
Okay, now for the steps to securely update the CentOS 7 or 8 Kernel.
As a source for our update, we will use the ELRepo repository which is a community repository for Enterprise Linux distributions (Red Hat Enterprise Linux (RHEL), CentOS, Scientific Linux).
ELRepo focuses on hardware-related packages including file system drivers, graphics drivers, network drivers, sound card drivers, webcam, and many others.
1 – Update, upgrade with Yum your CentOS and a reboot at the end:
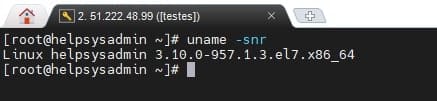
2 – Checking the Kernel version installed on the server

3 – Install the yum plugin which will allow a faster update
4 – Check your CentOS version


5 – Add the gpg key from the ELRepo repository to the server.
6 – According to your CentOS version, choose the option below:
For CentOS 7:
For CentOS 8:
7 – Enable the repository and install the new Kernel
At this point we have already installed the new Kernel, now let’s configure Grub2 to start with the new Kernel
8 – Use the following command to list the Kernel options


9 – Tell Grub the Kernel version you want to use
9 – Generate the grub2 config with the command ‘grub2-mkconfig’ and then a reboot in CentOS Linux to apply the new kernel.
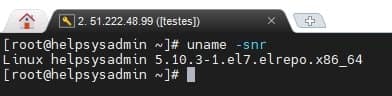
10 – After the reboot check the installed Kernel version

After installing the new Kernel version, it is possible to optimize the performance and security of the server using sysctl which will act directly on the Kernel. Request HelpSysAdmin services for Kernel optimization and various other services of your server.